Showing posts with label Sizzix. Show all posts

Monday, October 3, 2016

Simon Says Stamp Monday Challenge: Halloween

Happy Monday all!  I am so excited to share some of my Halloween creations for the Simon Says Stamp Monday Challenge! I love this time of year and I love creating all kinds of spooky projects for Halloween.  
For this challenge, I have created a Graveyard scene, using a ton of Tim Holtz products and of course Ranger ink!


Some of the Tim Holtz Sizzix alterations dies used were: 
Headstone
Branch Tree
Bat mover and shaper
On the Edge -On the Fence
On the Edge-Graveyard
Coffin Box
The headstone was created using a technique I learned from Ranger a while back, using tissue paper and Distress Paint to obtain the worn look. All of the pieces were cut from grungeboard with the exception of the coffin-which was cut from heavy card stock. 


Distress paint was used to color the fences and trees, giving them a spooky and "old crickety" look.
This project was so much fun to create!


I am entering this project into the Simon Says Stamp Monday Challenge-Halloween, be sure to check it out and join in too! And stay tuned for more of my Halloween projects this week!


Monday, August 15, 2016

Tim Holtz 12 Tags of 2016 August


Hey y'all! I am so excited to finally be settled into my new studio in our new home in South Carolina! And finally I am organized enough to be able to spend lots of time in the studio creating. 
After finishing Creative Chemistry 103 I have been super motivated to go back and create all of Tim's   tags from this year that I have missed. So I am starting backwards and beginning with this month's.  This year's 12 tags is based on what Tim calls Technique Remix- where he takes two of his previously used techniques and combines them-what a fantastic idea- so many possibilities.

For the August 2016 tag- the technique combo is Brayered Stain (July 2013) and Frameworks (April 2014).
I chose to create 3 different tags this month-just for some variety. To start off I created my tags using the Brayered Stain technique.


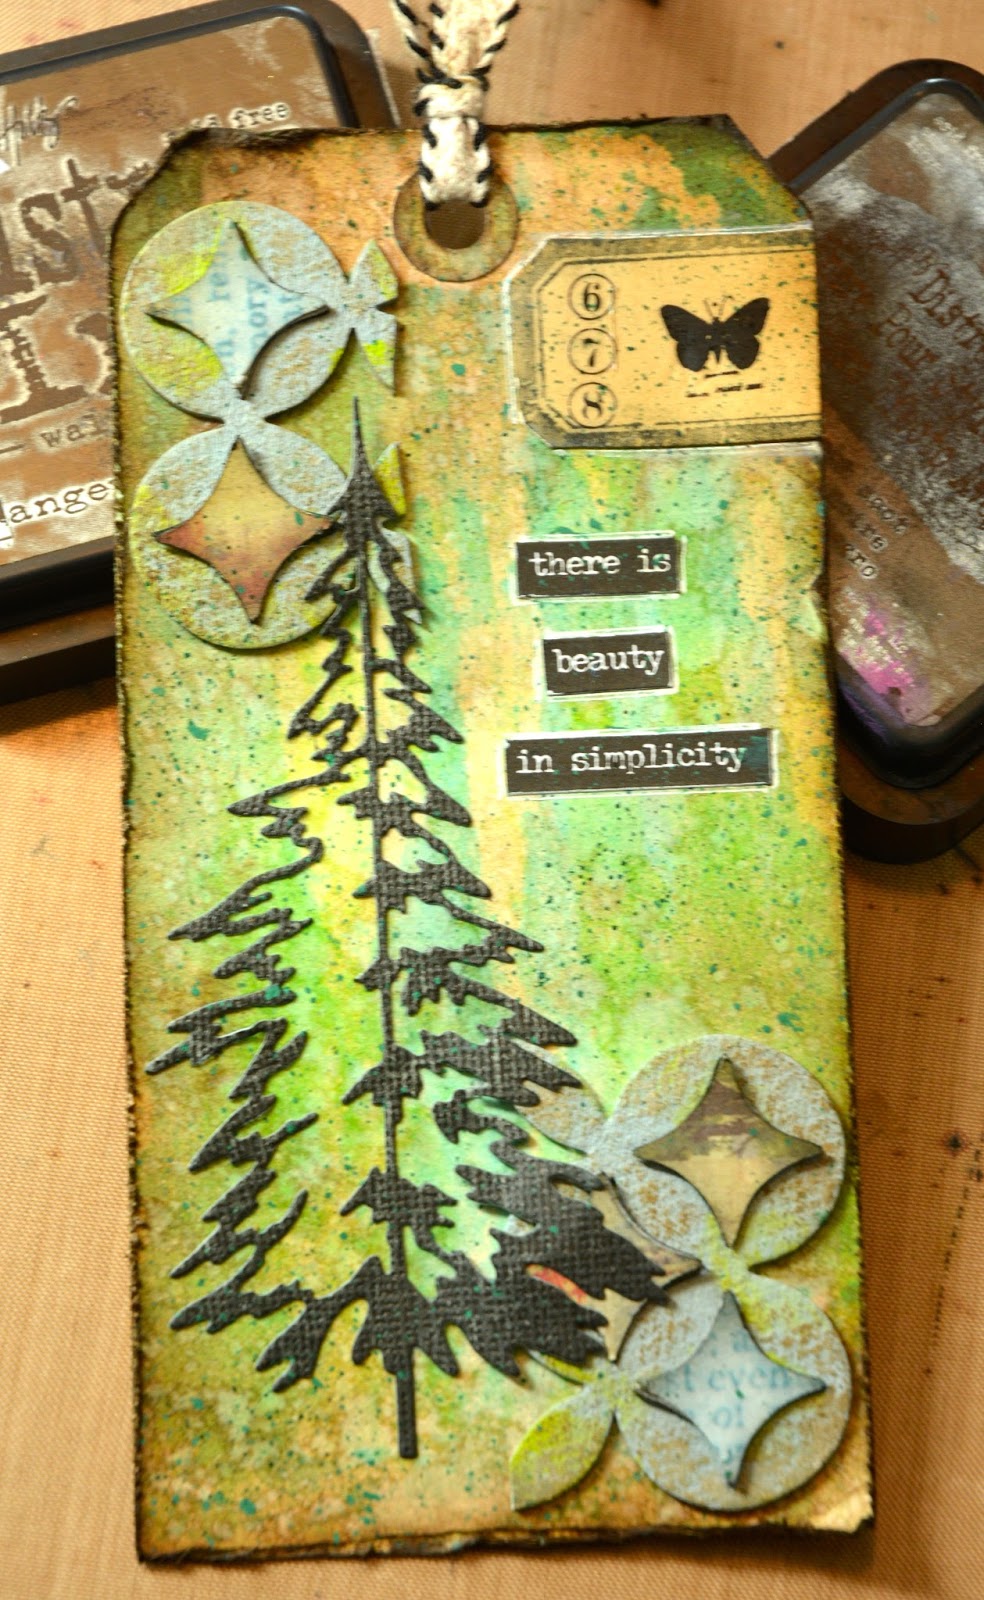
I used various colors of Distress Stain- Tumbled Glass, Twisted Citron, Lucky Clover and Broken China.  For the edges and accents with Distress ink I used Mermaid Lagoon, Faded Jeans, Walnut Stain and Ground Espresso.


 Love the way these backgrounds came out!

For the Frameworks I used Honeycomb and Courtyard and various textures- patterned paper, burlap,cork, mirror, and corrugate.

Tropical Thinlits

I am entering the Palm Tree and the Sea Horse into this week's Simon Says stamp Monday Challenge-Summer Fun. 
Woodlands Thinlits

I finished off each of the tags with a different silhouette.


Sand and Sea Bigz Die
Be sure to check out Tim's blog for this month's tag tutorial-the remix is so much fun!
Thanks for joining me today! 
Embrace Imperfection!
Pam
SaveSave

Friday, October 16, 2015

Happy Halloween- Cut it Up Style

For this week's Cut it Up Challenge the theme is Halloween tags-no cards!
And of course, as always, you must use a die cut.  Check out all of the DT inspiration here.  
For my tag I chose to use the Tim Holtz new Bigz die cut Ghosts!  I have made several Halloween cards with this die cut already this year- check them out here.

But here's what I came up with for my tag:


I actually made this background tag last year and never used it so it came in handy! The technique used is called waxed paper resist and you can see an amazing tutorial from Anna-Karin on her blog demonstrating this. Thanks for the inspiration Anna!
The ghosts were die cut from core 'dinations  whitewash collection and distressed a bit with Black Soot distress ink.  Purple stickles to match the background was added to the ghost's eyes and mouth for some extra texture. 

So come join the fun and celebrate Halloween with us at this week's Cut it Up Challenge- cannot wait tot see what you all create!


Thursday, October 15, 2015

Congratulations Favor Box with Xyron & Teresa Collins


Happy Thursday everyone! Today I am here to share a tutorial on how to made some super sweet favor boxes for any special occasion. We have our engagement party coming up soon so I decided to make these favor boxes using the fantastic papers from the Teresa Collins Wanderlust collection and my Xyron Adhesives.  Although these are "travel" themed papers- some of the Foiled pieces are so elegant I decided to "think outside the box" and use them for this project.


Box with lid open.


 Front of Box


Backside


Top


Xyron Creative Station, Xyron 9” Permanent Adhesive Cartridge, Xyron Mega Runner

Other Products Used:
Teresa Collins Wanderlust Papers-Plus Foiled Paper, Sizzix Little Sizzles Matboard Black 6x13, Sizzix  Box #1 Bigz XL die, Tim Holtz Vagabond, Ranger Queen’s Gold Embossing Powder, Versamark Ink, Congratulations Stamp, Washi Tape, Fiskars Paper Trimmer

Step by Step Directions


Cut out from the black Sizzix mat board, using the Sizzix Bigz Box die 2 of the larger box pieces. 

Fold each box piece on the score lines. 

Using the Xyron Mega Runner apply adhesive to the tab portions of each box piece, leaving one tab without adhesive for the top opening. 


 Assemble the 2 box pieces together via the tabs, press and  hold to ensure a secure fit. 


Cut the Teresa Collins Plus Foil paper into 2.5” x 2.5” cubes with a paper trimmer (6 for each box).
Run the squares through the Xyron Creative Station loaded with the 9” adhesive cartridge Repeat until all pieces have adhesive on the backside. 


Carefully adhere each piece to one side of the assembled box-ensuring the line up the paper with the edges. 


Apply small width Washi Tape to each seam of the box and onto the front lip. 


Stamp the congratulations stamp in Versamark Ink and emboss with gold embossing powder.
 Cut out the Congratuations sentiment using an appropriate size circle die but running it through a die cut machine.


Apply adhesive to the back of the circle with the Xyron Mega Runner and adhere to front of favor box. 
Add heart embellishments and bow to top of completed box.
Tip: To ensure good coverage of adhesive burnish the squares after running through the Xyron and before removing the protective liner and adhering them to the box.

Thanks for joining me today and I sure hope you try out this fun project!


Tuesday, June 23, 2015

Technique Tuesday with Pam Honey Bee Scraps

Good morning everyone! Welcome back to another Technique Tuesday! I just returned from a weekend road trip to Maryland for a family wedding so of course I thought it appropriate to showcase the Honey Bee Scraps No Place Like Home stamp set today! The technique is a simple one but super versatile - I will be showing you how to ink your embossing folders for a little extra color and added dimension to dry embossing!
Here's the super cute suticase I made!

DSC_7668 1
To create the embossed background for the suitcase itself- follow these simple steps below- this can be done with any embossing folder and any non-permanent ink.

Begin by opening the embossing folder and inking gently with the ink pad the raised portion of the embossing folder.

.Carefully place a piece of 4.25" x 5.5" card stock (for this project I am using Neenah Desert Storm) inside the embossing folder. 
Carefully place a piece of 4.25" x 5.5" card stock (for this project I am using Neenah Desert Storm) inside the embossing folder.


Close the embossing folder carefully so the card stock does not move within the embossing folder.

Run the folder through your favorite die cut machine to dry emboss the paper.

Remove the card stock from the folder and depending on if you inked the negative or positive side of the folder you will have ink on the debased portion or the embossed portion.
Be sure to clean the ink off your embossing folder as well- with a wet paper towel or baby wipe so not to contaminate future projects.
Be sure to clean the ink off your embossing folder as well- with a wet paper towel or baby wipe so not to contaminate future projects.[/caption] I love how this technique gives extra depth to the dry embossing- I used Vintage Photo Distress ink here to give the suitcase the "grungy" vintage look as well.
I finished off the project by stamping a few of the sentiments from the No Place Like Home stamps set onto die-cut mini postage stamps- to give the look of old stickers on an old valise! I used my Xyron 1.5" Sticker Maker to adhere both the ribbon and the postage stamps!

DSC_7674
I also added the ribbon for a strap and made a "leather" handle from Kraft Glassine paper.
Hope you enjoyed taking this journey with me today and hope you give this technique a whirl!
Embrace Imperfection!
Pam

Saturday, June 13, 2015

Join Me For a Cup of Joe! Technique Junkies Showcase

Happy Saturday Junkies! I can't think of a better way to start my Saturday or any day for that matter than with a nice cup of joe!  I am a coffee-aholic that is for sure, so of course when I saw the Coffee Beans Background stamp from TJ I just had to have it!


For this card I use the background stamp to alter the script patterned paper by stamping in Versamark Ink, embossing with clear embossing powder and inking over with Gathered Twigs distress ink. 
This is a perfect background to compliment the Tim Holtz Fresh Brewed die cut that I used for the focal point.


This past weekend I got to visit with Pat and Sally Lynn at the Heirloom Rubber stamps shows.  What an incredible display of stamps they had on hand and I was able to add to my collection of TJ goodies.  So of course this week I wanted to play with them all....here are a few bonus tags I made while playing and experimenting with my new stamps!

The stamps used above are Big Bee and Be Silly (right) Rain Dance (left).


 Thanks for joining me today and be sure to check out all these great stamps and soooo many more at the TJ store
Embrace Imperfection!
Pam